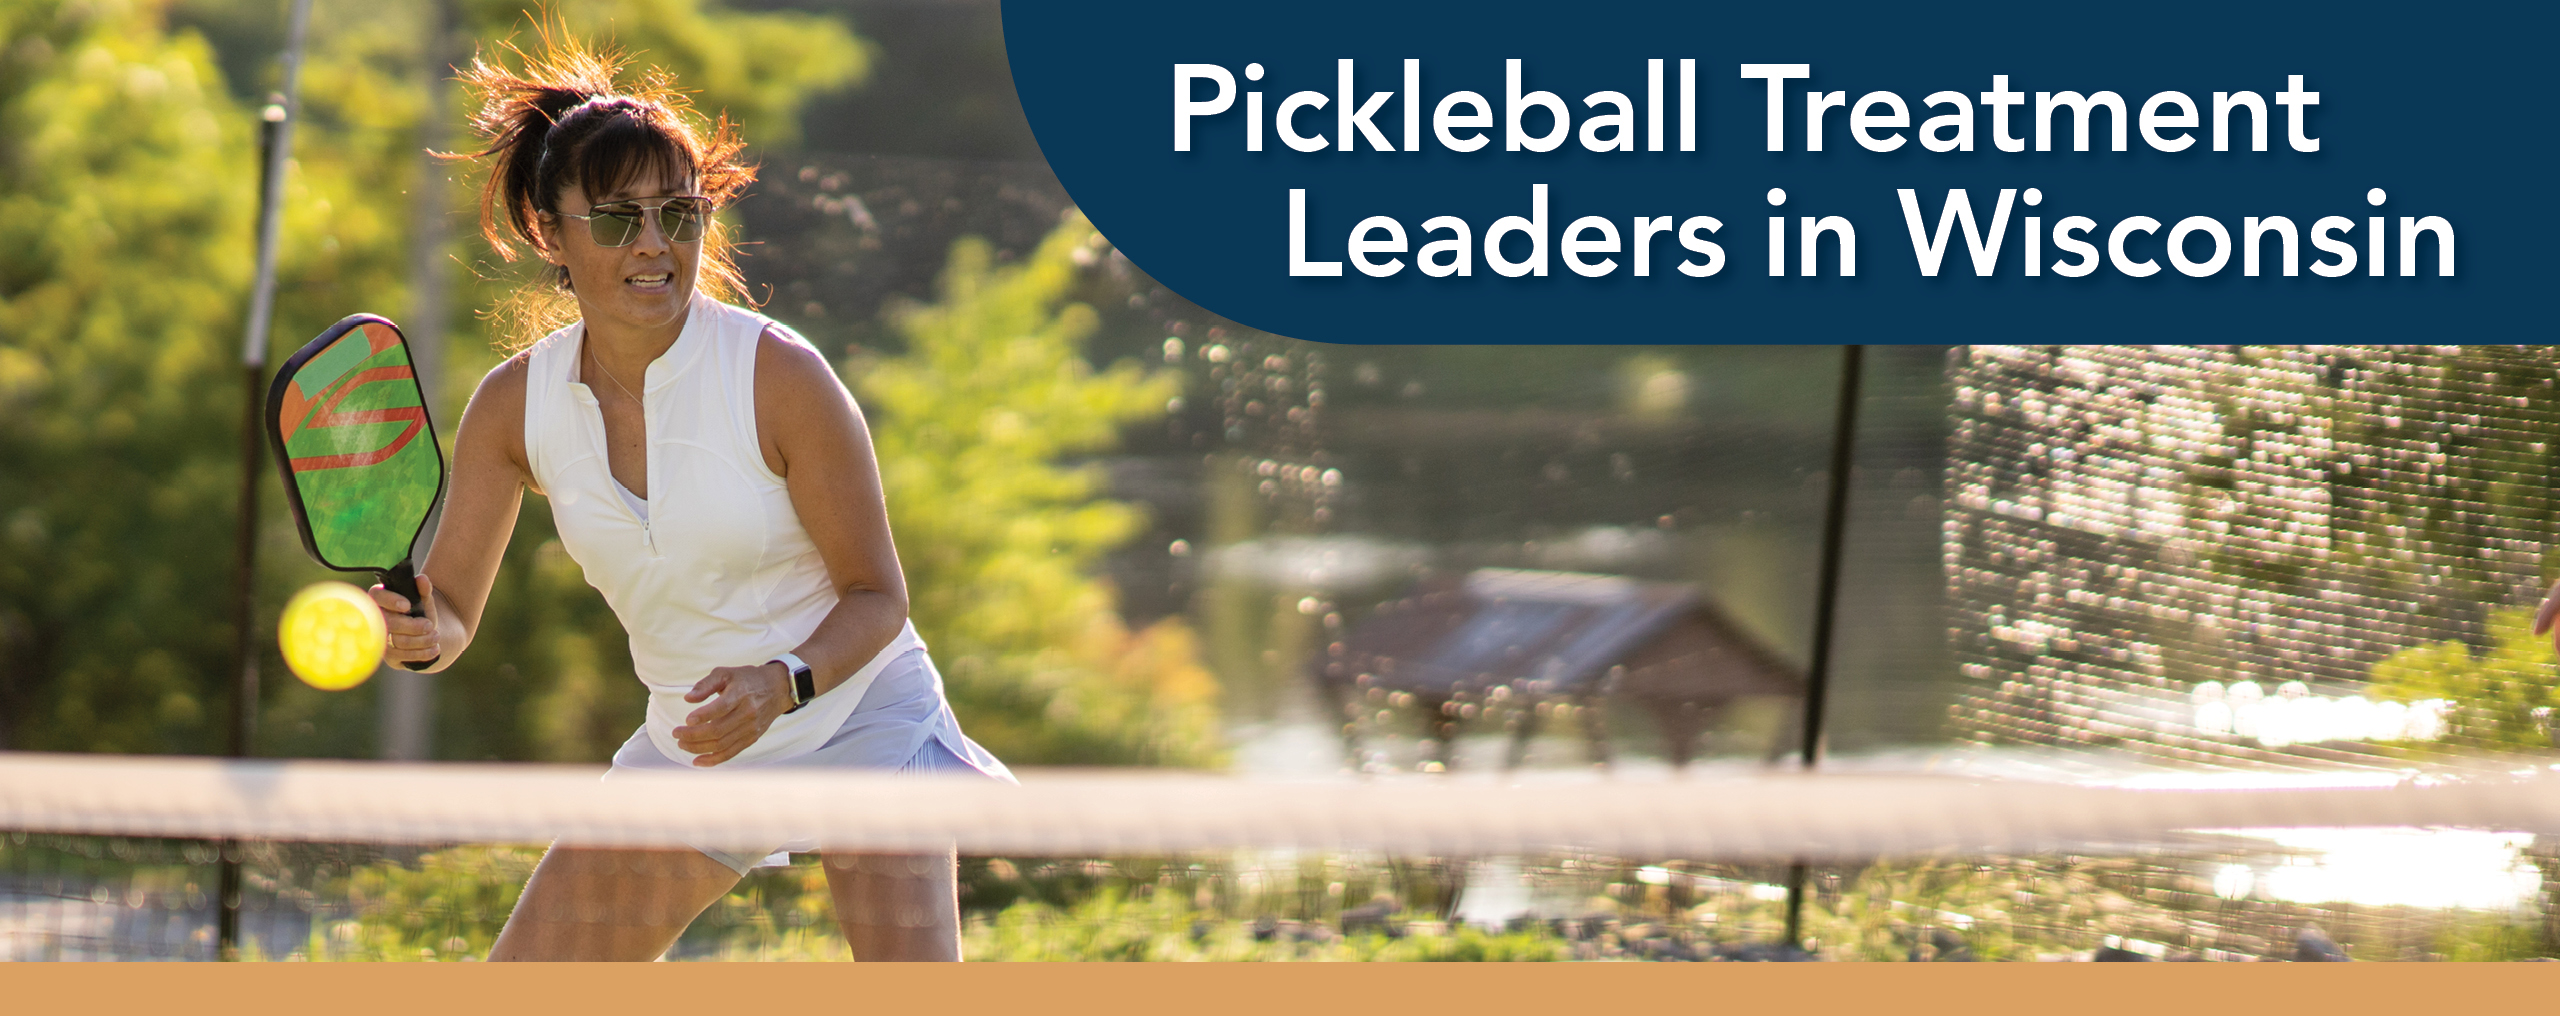
Since 1973, Aspen Orthopedic Specialists has been proudly serving athletes and active individuals across southeastern Wisconsin. When it comes to pickleball, we deliver top-tier bone, joint, and muscle care to keep everyone, from the casual player to the pro pickler, on the court.
Pickleball offers a set of advantages for health and fitness as well as the potential for injuries. Following an injury, staying in the game requires collaborative efforts with professionals who have the specialized expertise and experience to administer the most effective treatment suited to your situation.
At Aspen Orthopedic Specialists, our pickleball injury experts hold board certifications in their fields and have completed specialized training. With expertise in sports medicine and sports-related injury care, our doctors deliver tailored treatment and rehabilitation. Together, they strive to deliver optimal solutions for treating your pain and reducing your limitations so you can return to the pickleball court and the activities you love most.
Our pickleball injury experts at Aspen Orthopedic Specialists are proud to be Pickleball Doctors. Providing expert tips for injury prevention, performance, and more, Pickleball Doctors is a group of elite doctors dedicated to helping you stay on—and dominate—the pickleball court.
Preparing for Pickleball Play & Preventing Injury
In the vigorous back-and-forth of pickleball, one of the best ways to play well and avoid injury is to prioritize health and safety. Players at every skill level can effectively reduce on-court injury risks through off-court efforts.
Activities like strength training, conditioning, and targeted stretches play a crucial role in readying pickleball players for their upcoming matches. To ensure optimal protection and performance, consider following our specially designed program.
Download our injury prevention exercise guide below.
Exercise 1
BEAR HUGS
Step 1. Stand straight or lie on your back and open up your arms, pulling your shoulders back to broaden your chest.
Step 2. Bring your arms back in, wrapping them around your chest, and pat the back of your shoulders.
Step 3. Repeat quickly 20 times.
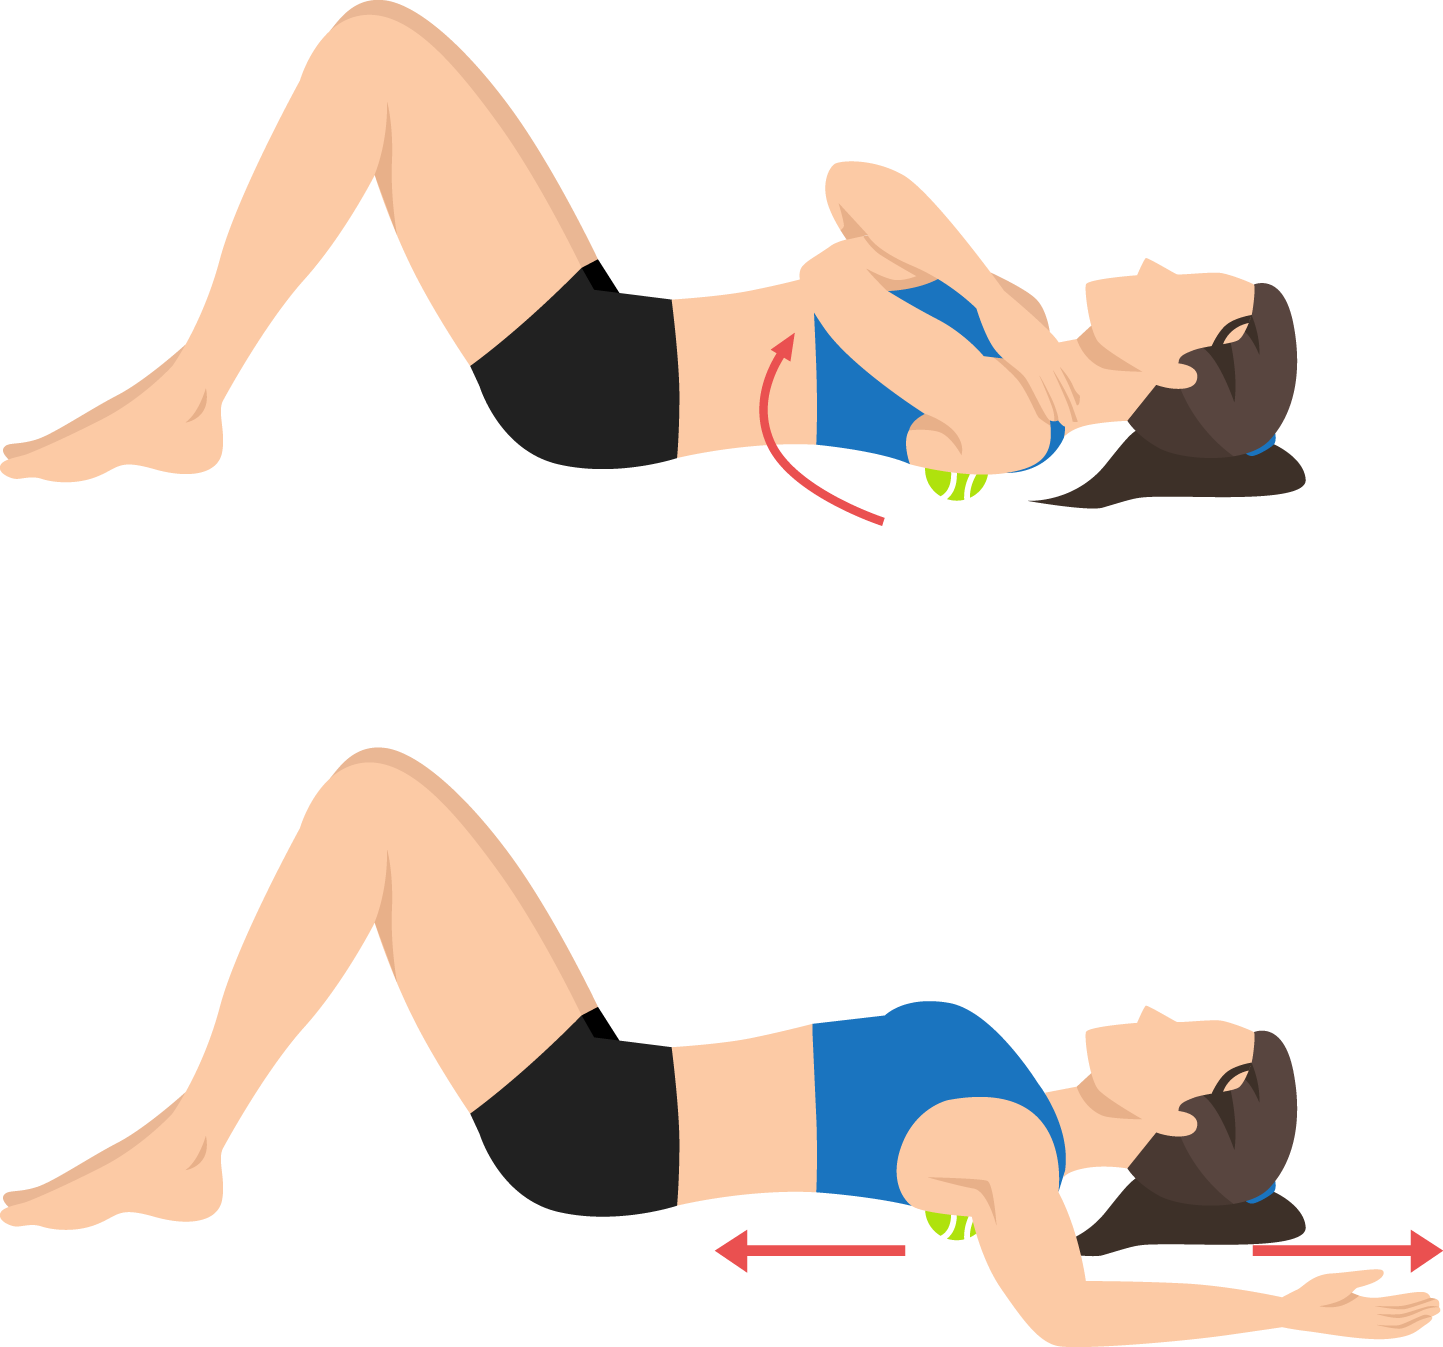
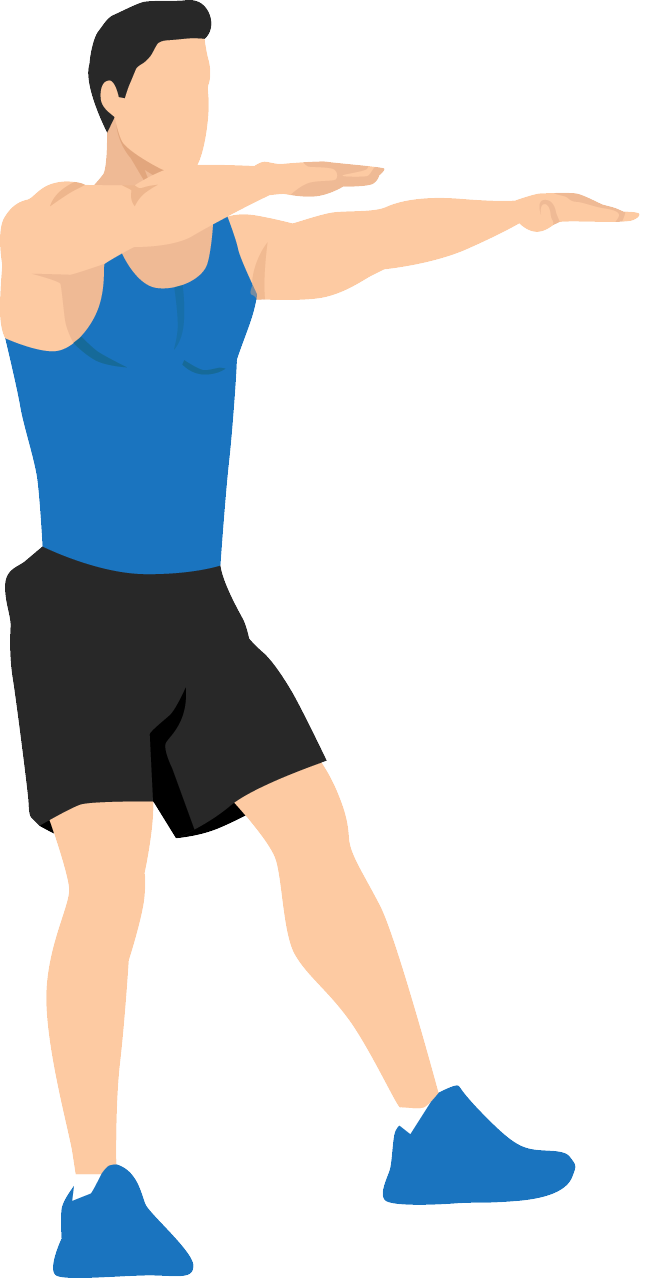
For the Win: Do some resistance bear hugs. Hold a resistance band around your back. Then, reach your arms out in front of you like you are hugging someone. Hold for 3 seconds. Repeat 10 times.
Exercise 2
POGO HOPS
Step 1. Stand with your feet shoulder-width apart.
Step 2. Bend your knees slightly, but keep your posture straight.
Step 3. Keep your feet together and jump up and down in place.
Step 4. Repeat for 30 seconds.
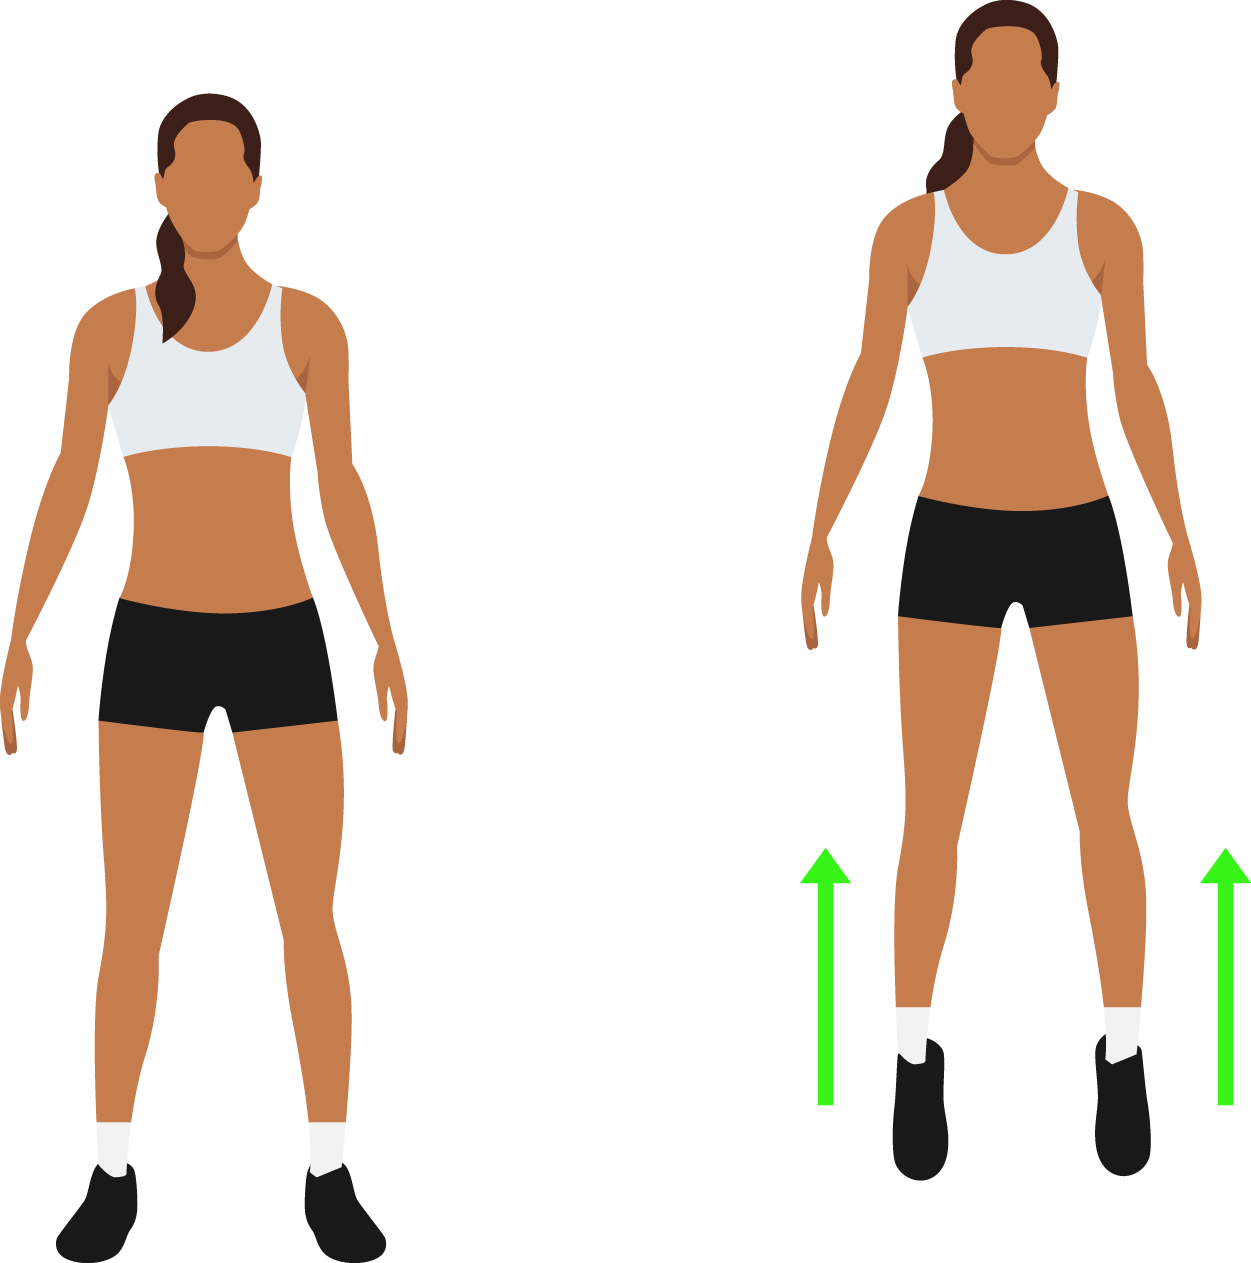
For the Win: Do some single-leg hops. Balance on one leg and hop in place for 30 seconds. Repeat while balancing on your other leg. For better agility training, use a line to hop over from left to right.
Exercise 3
SIDE-LYING LEG LIFTS
Step 1. Lie on your side with your legs straight and one leg on top of the other.
Step 2. Bend your knees slightly and move your top leg toward the sky or ceiling.
Step 3. Lift your leg slowly and lower it slowly.
Step 4. Repeat 10 times on each side.
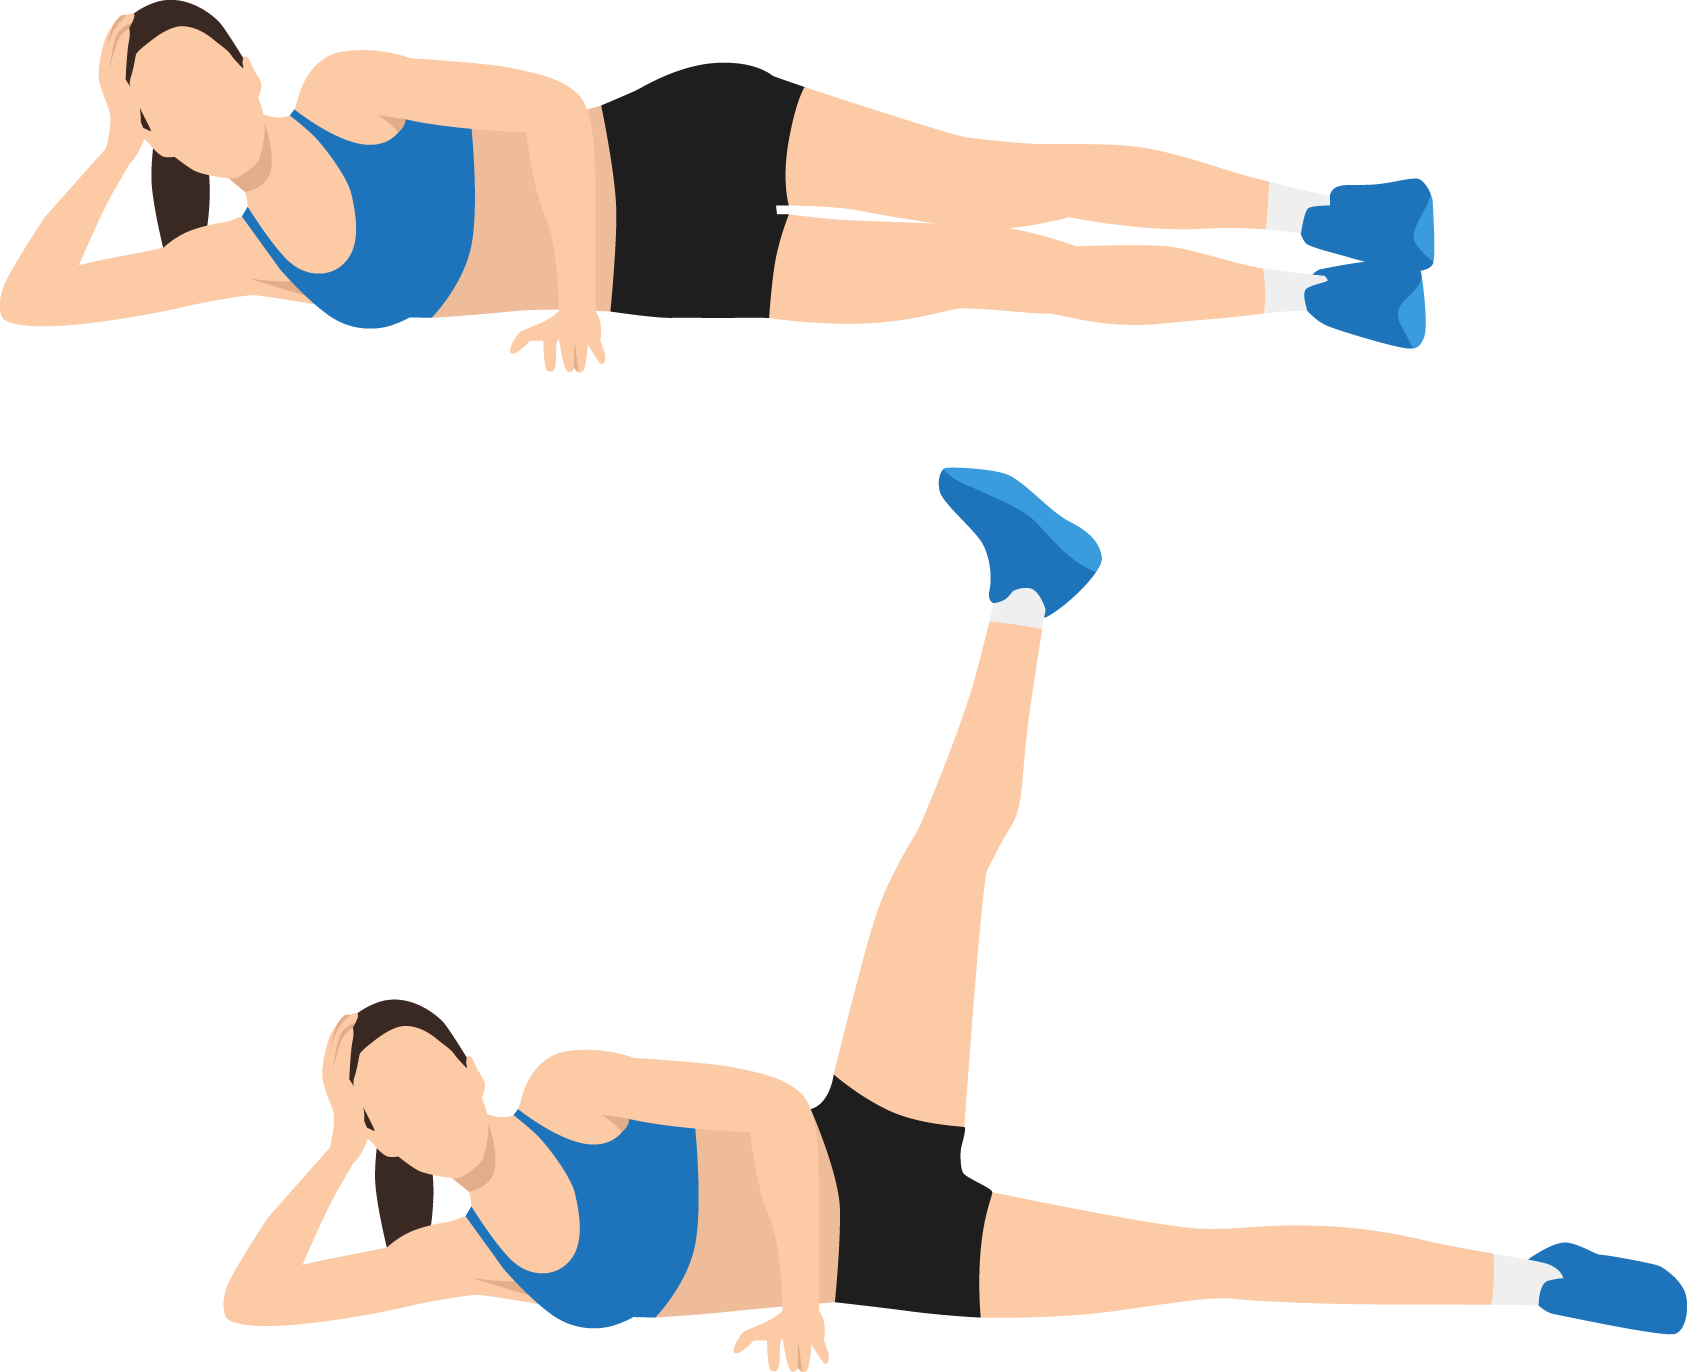
For the Win: Try resistance leg lifts! While lying on your side, place a resistance band around your legs and above your knees while you complete your leg lifts. For more of a challenge, place the band around your ankles.
Exercise 4
SINGLE-LEG BALANCE
Step 1. Stand with your feet hip-width apart.
Step 2. Lift one foot off the ground. If you need, hold your arms out to help you balance.
Step 3. Hold this position for up to a minute or as long as you can.
Step 4. Repeat on the other side.
For the Win: Do single-leg extensions. Stand on one foot. Lift your other leg, extending it behind you, in front of you, and off to the side. Center your leg before each extension. Repeat 15 times on each side.
Exercise 5
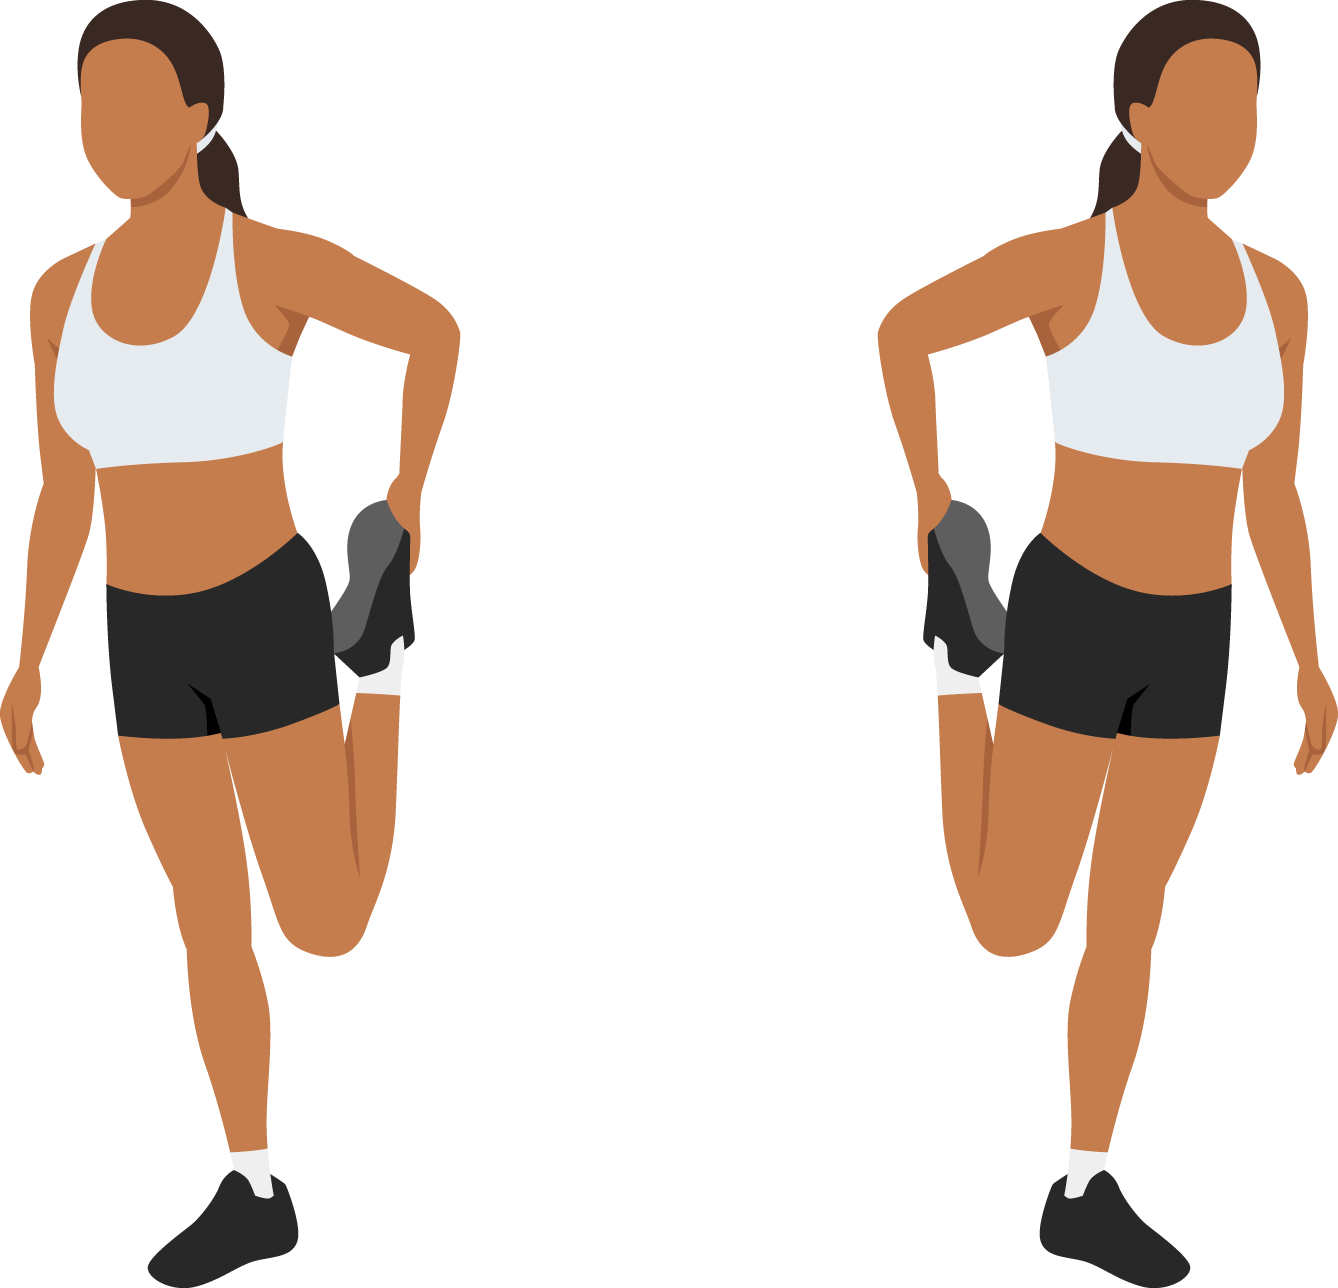
STANDING QUAD STRETCH
Step 1. Stand on one foot and pull the other behind you, holding the ankle.
Step 2. If you need, hold onto something for balance.
Step 3. Pull your heel toward your buttocks, and hold for 30 seconds.
Step 4. Repeat for 3 sets on each side.
For the Win: Do kneeling quad stretches. Kneel on one knee with the opposite foot planted flat in front of you. Push your hips forward and hold for 30 seconds. Repeat for 3 sets on each side.
Exercise 6
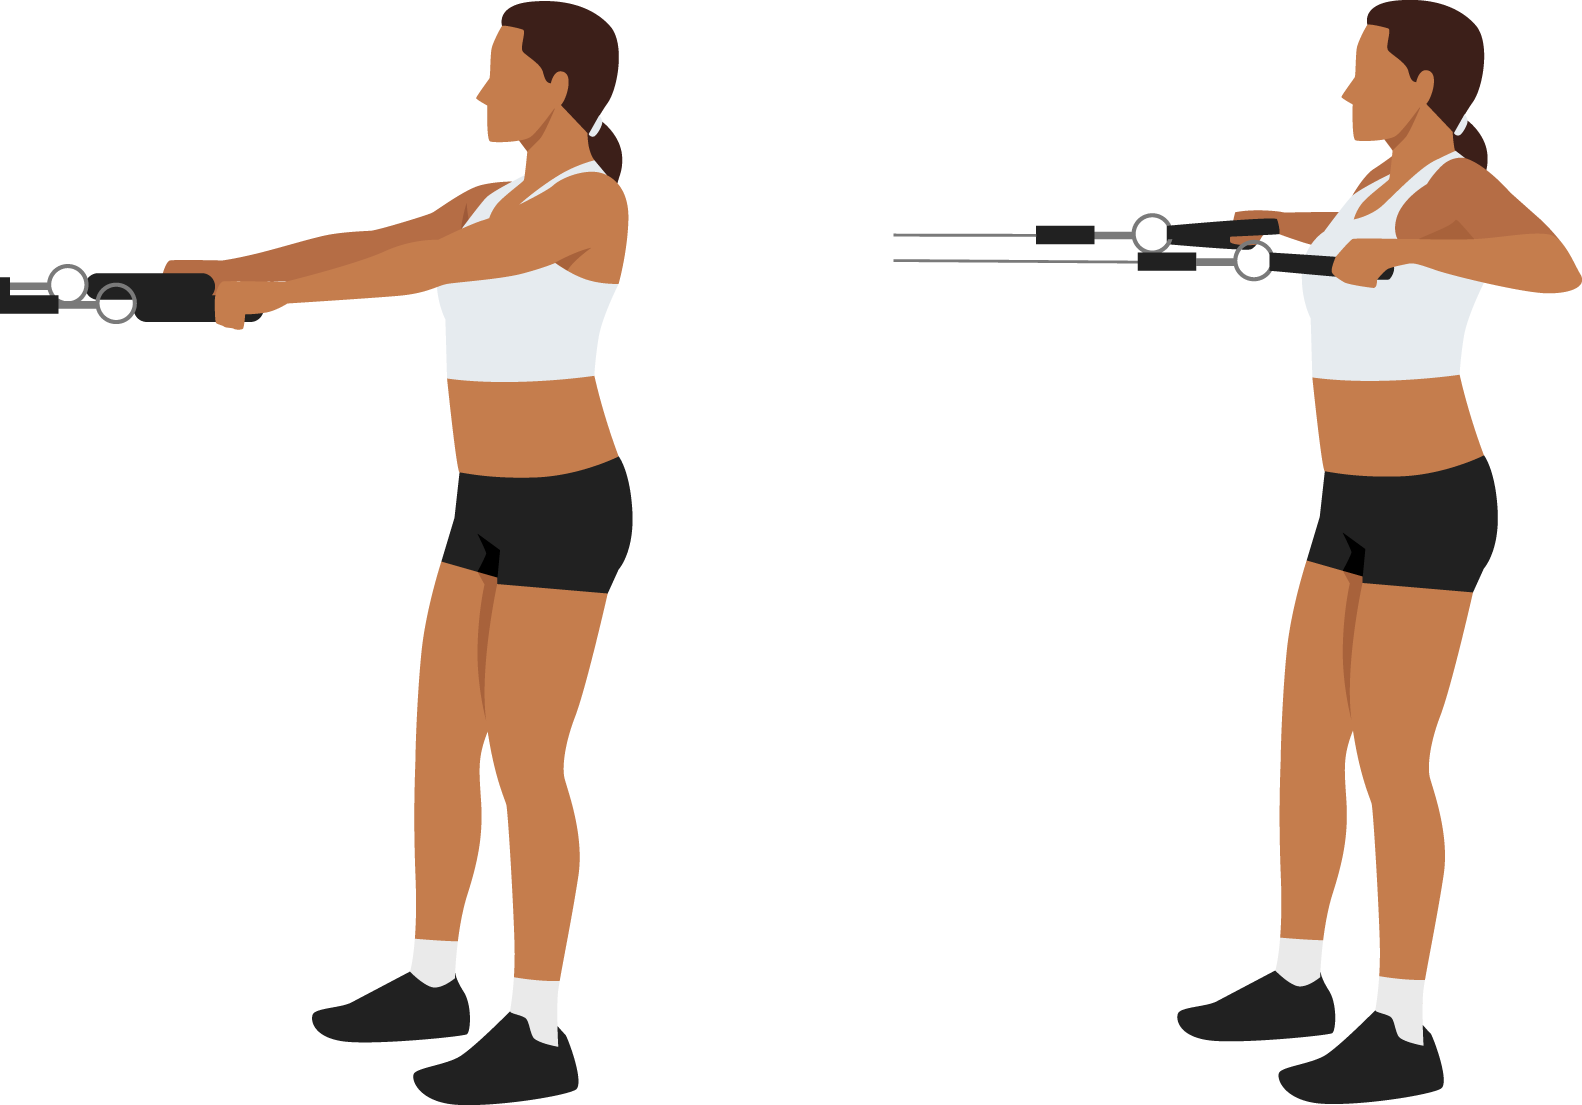
ROWS
Step 1. Put a resistance band around a stable surface, like a tree or fence, holding the band in each hand.
Step 2. Stand facing the band with your feet hip-width apart.
Step 3. Pull the band toward you, squeezing your shoulder blades.
Step 4. Return to your starting position.
Step 5. Repeat 15 times.
For the Win: Do some bodyweight rows. Instead of resistance bands, use your body weight. Find a stable horizontal surface, such as a table or bar, and lie underneath it, grasping the surface firmly with both hands. Pull yourself up then lower yourself back down. Repeat 15 times.
Exercise 7
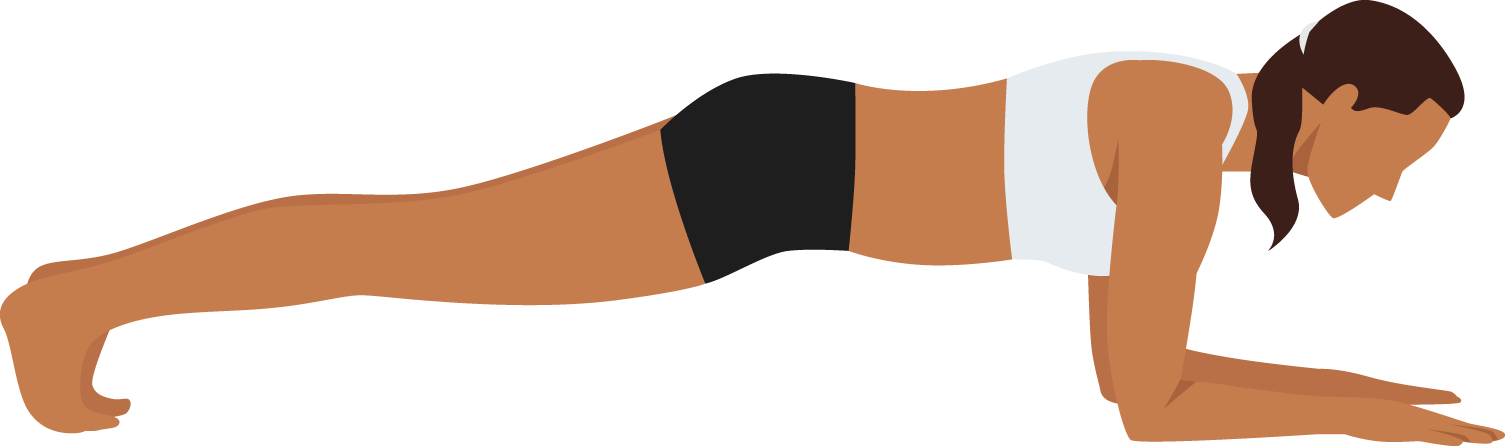
PLANKS
Step 1. Put your hands and knees on the ground, then extend your legs behind you.
Step 2. Support your weight on your forearms and toes.
Step 3. Keep your body straight from your head to your heels.
Step 4. Hold this position as long as you can.
For the Win: Try side planks with resistance in your arms. Support your weight on one foot and forearm. Hold a resistance band in both hands, and extend your free arm toward the sky or ceiling. Repeat 10 times on each side.
Exercise 8
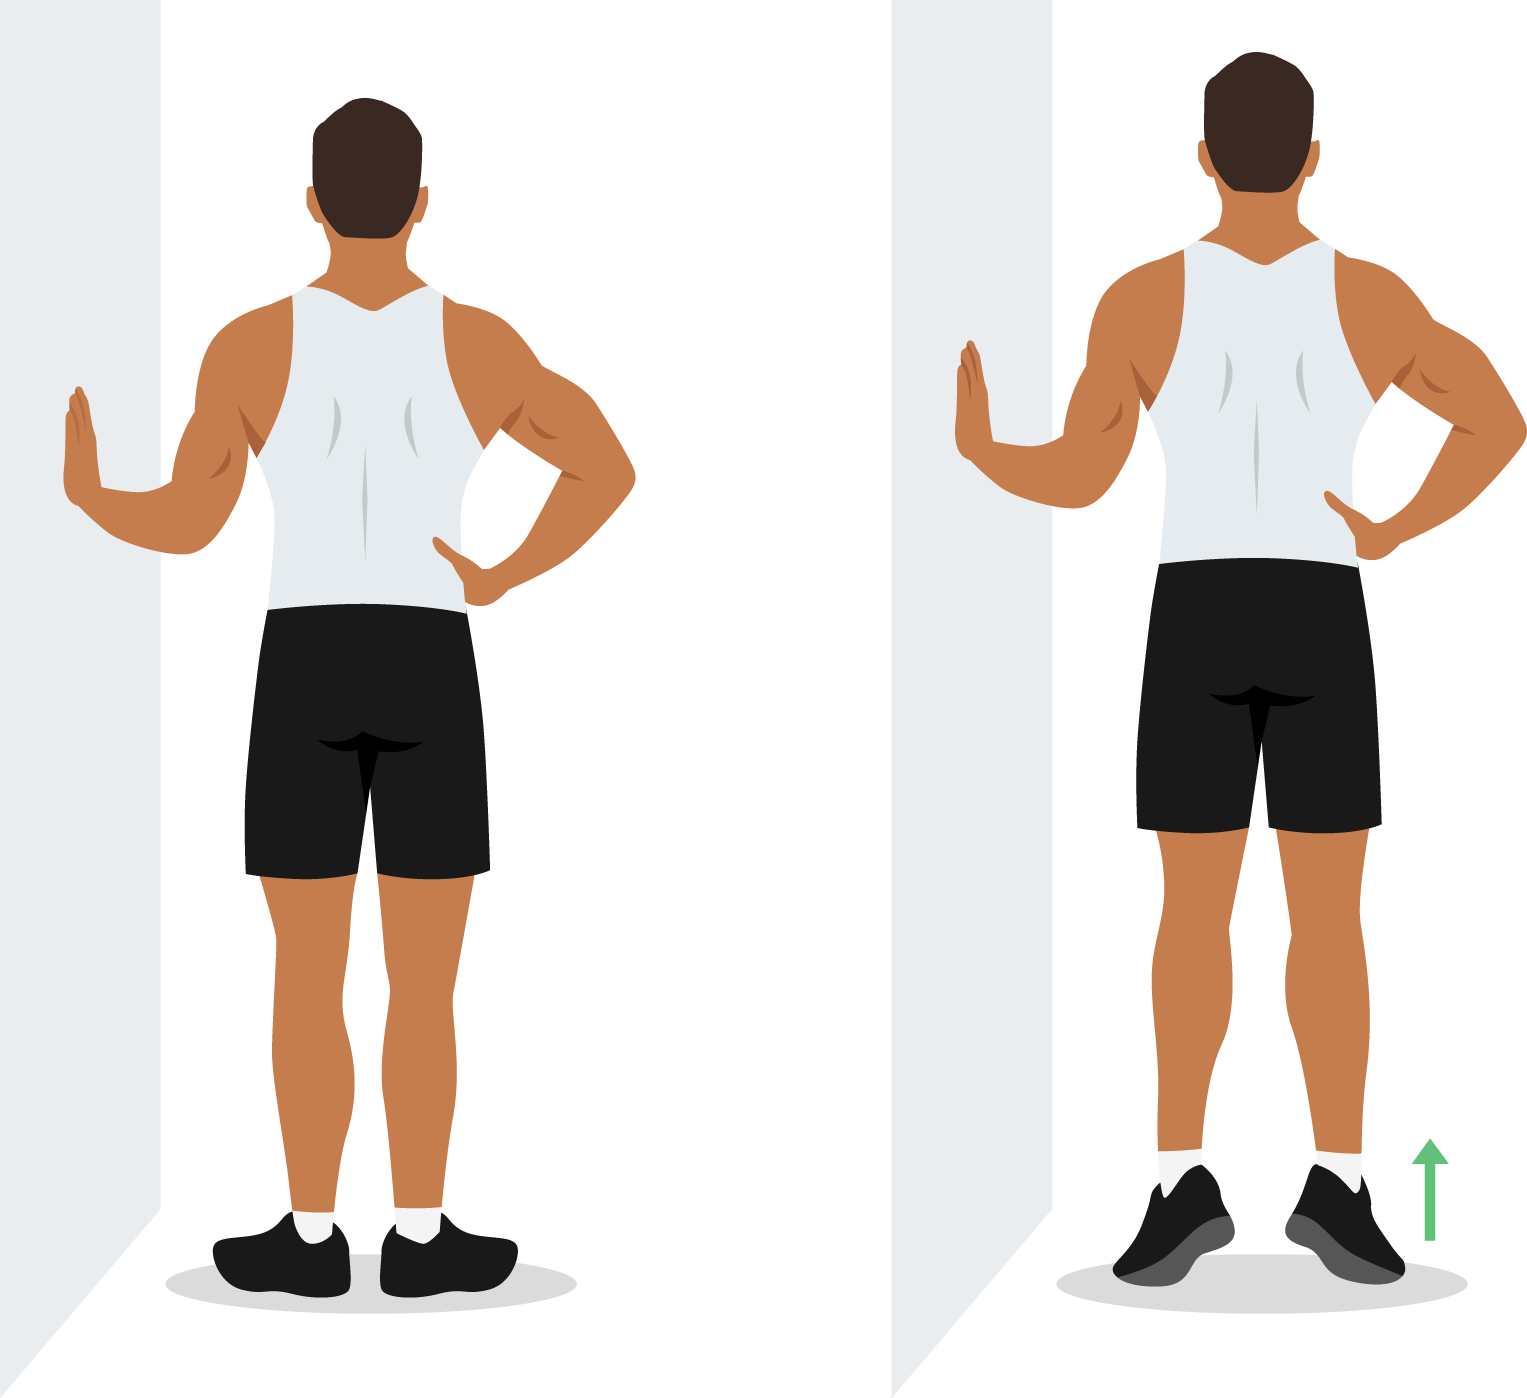
HEEL RAISES
Step 1. Stand with your feet shoulder-width apart.
Step 2. Slowly lift your heels off the ground, rising up onto the balls of your feet.
Step 3. Pause as you get to your tip-toe position, then lower your heels slowly back down to the ground.
Step 4. Repeat 20 times.
For the Win: Try single-leg heel raises. Instead of using both feet, lift one foot off the ground while putting your weight on the other foot and lifting that heel up. Repeat 20 times on each side.
Exercise 9
SQUATS
Step 1. Stand with your feet shoulder-width apart.
Step 2. Lower your hips down and back as if you are sitting down in a chair.
Step 3. Keep your weight on your heels.
Step 4. Return to a standing position.
Step 5. Repeat 10 times.
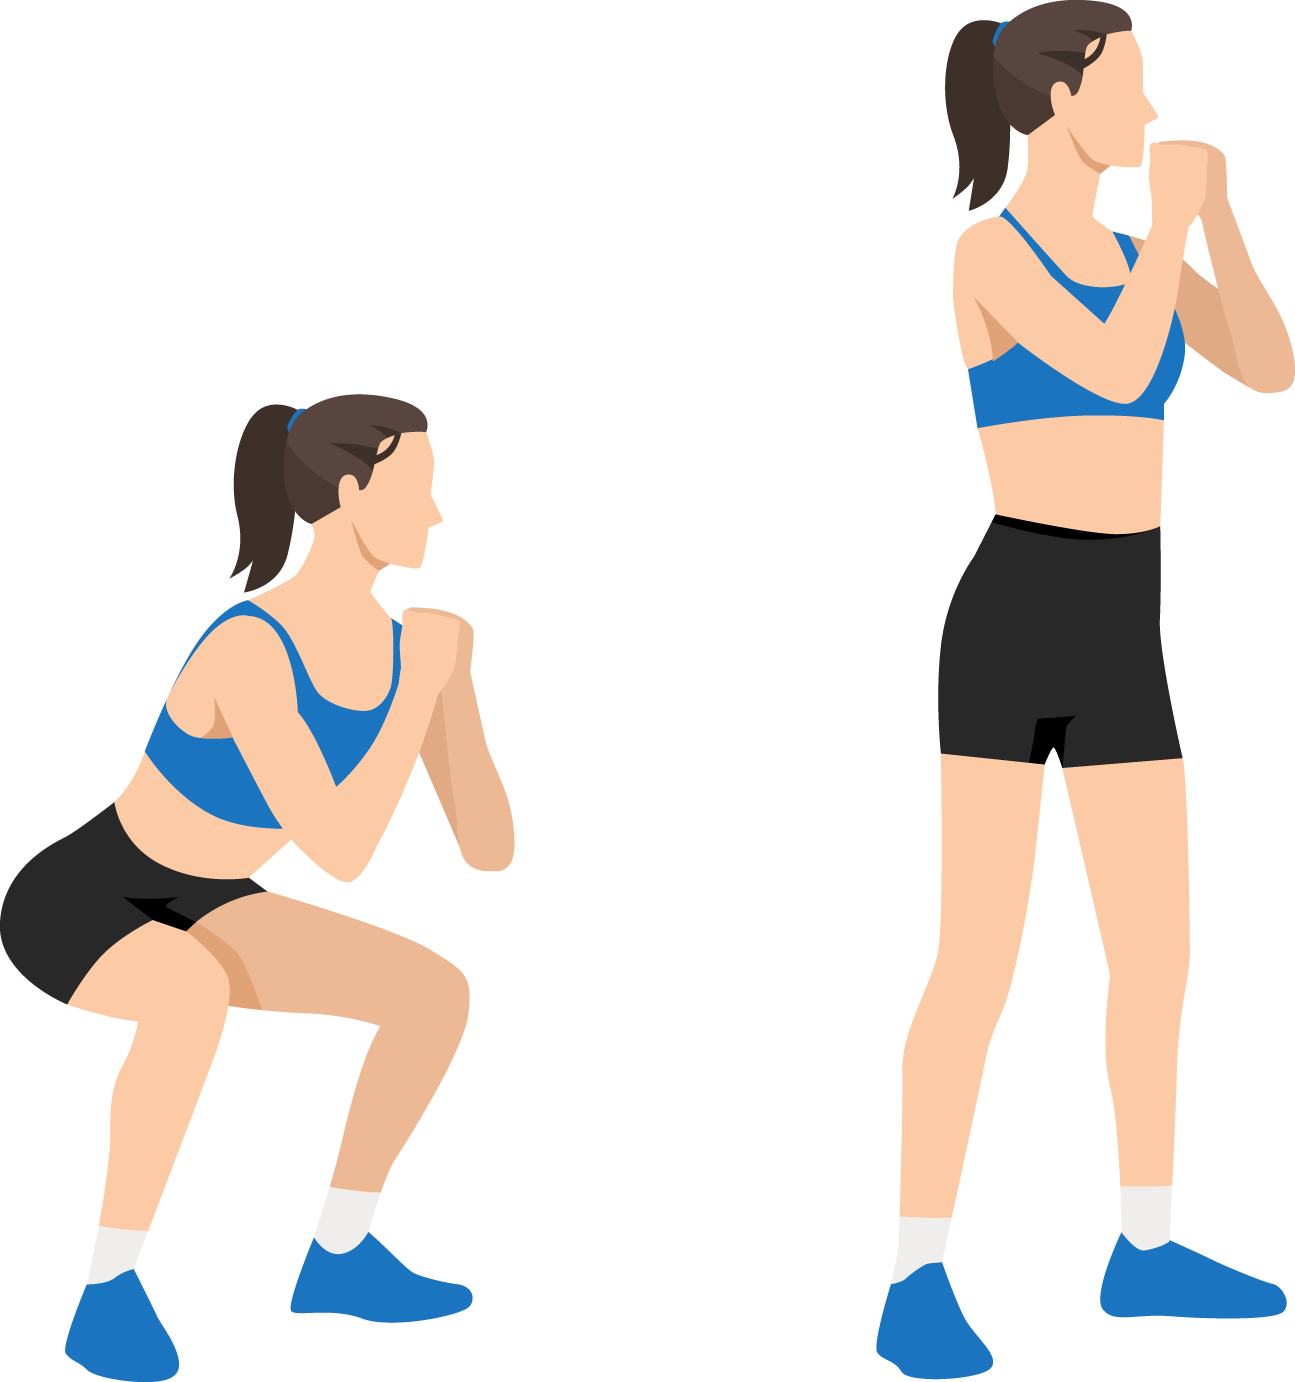
For the Win: Try single-leg squats. Instead of two feet down as you squat, lift one foot off the ground and extend it in front of you as you lower your hips and return to a standing position. Repeat 10 times on each side.
Exercise 10
LUNGES
Step 1. Stand with feet hip-width apart.
Step 2. Take a big step forward with one foot.
Step 3. Lower your hips down until your front knee is bent at a 90-degree angle.
Step 4. Keep your weight on your front heel.
Step 5. Push off your front foot to return to a standing position.
Step 6. Repeat 10 times on each side.
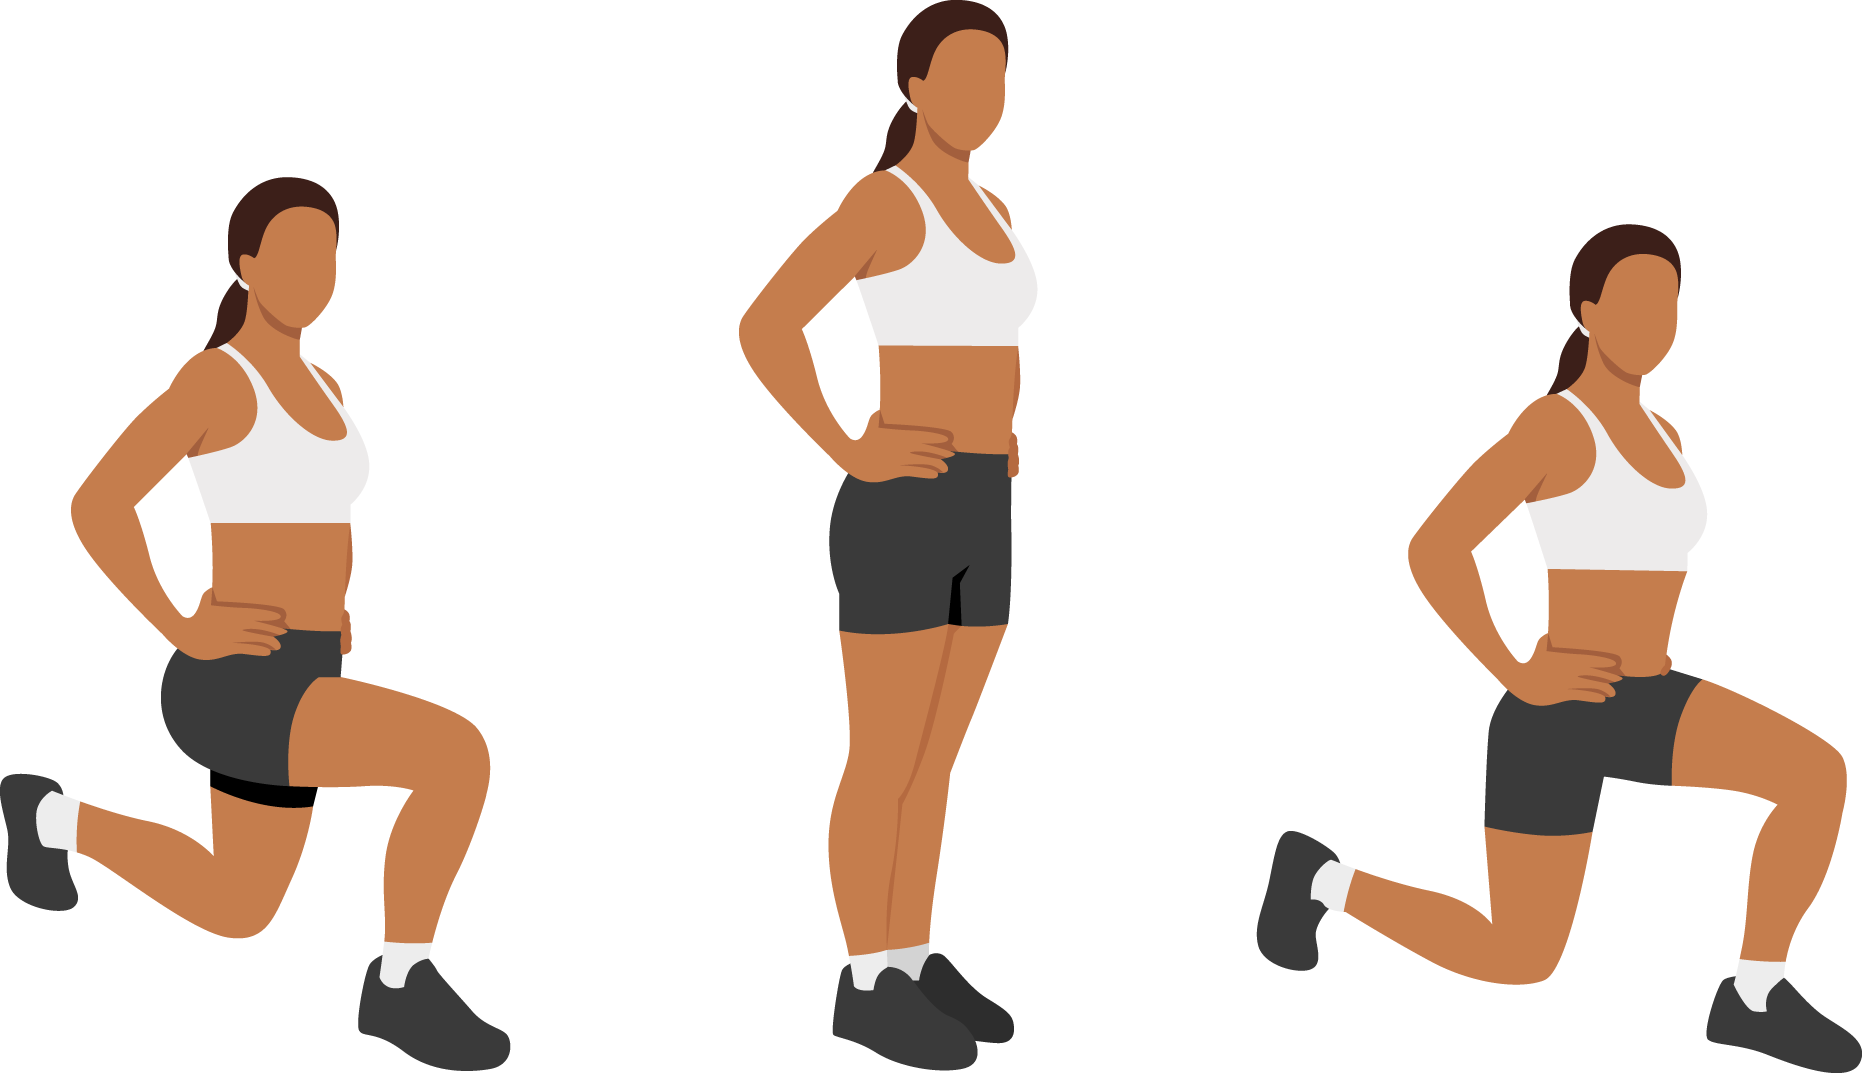
For the Win: Do backward and side lunges. For backward lunges, take a big step backward, lower, and push off your back foot to return to standing. For side lunges, take a step out to the side, lower yourself on that side, and push back up from that foot to return to standing.
When to Be Seen for an Injury
Avoid engaging in pickleball, or any sport, if you’re injured or experiencing pain. You may think you only have a minor injury, but playing while injured may lead to additional injuries or slow your recovery. It's vital to promptly consult an orthopedic specialist so you can avoid advanced problems.
Our team knows that an effective injury treatment plan demands accurate assessment and direct care from an expert. You can request an appointment online or call (262) 395-4141 to meet with one of our specialized sports medicine doctors if you experience:
- A fall on the court leading to a popping sensation or sound in the wrist, arm, hip, shoulder, back, or knee
- Inability to put weight on the foot, ankle, knee, or leg
- Lingering muscle or joint pain despite rest and icing
- Discomfort in the hand, wrist, or forearm when gripping the pickleball paddle
- Shoulder, back, neck, or arm ache when swinging the pickleball paddle
- Sudden, persistent pain in a specific region of the back, arms, or legs post-play, particularly if the area feels tender or warm to the touch
Pickleball injuries are diverse, and some of the most common include:
- Ankle and wrist injuries
- Golfer’s elbow
- Herniated or slipped disc
- Knee cartilage and tendon injuries
- Plantar fasciitis
- Rotator cuff injuries
- Strains and sprains
- Tennis elbow
Who to See

Sean E. Wilson, D.P.M.
In pickleball, you need to stay on your feet. Board-certified, dual-fellowship-trained foot and ankle specialist Dr. Sean Wilson understands that very well. With top-level expertise in his field, Dr. Wilson provides his patients with the most up-to-date, safe, and effective treatment programs to quickly relieve their symptoms.

Robby A. Amiot, D.P.M.
Fellowship-trained in orthopedic trauma and board-certified in foot and ankle surgery, Dr. Robby Amiot helps athletes, pediatric patients, and active adults every day. He treats a high volume of ankle injuries and ankle sprains, and he’s performed more minimally invasive ankle ligament reconstructions than anyone else in southeastern Wisconsin.

Ryan J. Kehoe, M.D.
A team doctor for multiple area organizations, including Milwaukee Barbarians Rugby and Milwaukee Sport Club, Dr. Ryan Kehoe keeps local athletes active. He is board-certified in orthopedic surgery and fellowship-trained in sports medicine, giving him exceptional expertise. He enjoys being able to help people and get them back to their desired level of function.

Jonathon O. Printz, M.D.
Board-certified in orthopedic surgery, Dr. Jonathon Printz has extensive experience in bone, joint, and muscle injury treatment. Caring for everyone from high school athletes to active retirees, Dr. Printz understands a diverse range of needs. He has served as a team doctor for several area teams, and he is committed to restoring his patients’ function and getting them back to their sports and desired activities.

Joseph P. Kelly, D.O.
Fellowship-trained shoulder and elbow surgeon Dr. Joseph Kelly is an expert in treating the injuries and conditions pickleball players often face. Specializing in sports medicine and minimally invasive procedures, he offers a wide array of treatment options. Dr. Kelly is dedicated to getting his patients active again and works closely with them for the best possible treatment and recovery.
At Aspen Orthopedic Specialists, we know that when you are experiencing pain or discomfort, you need to be seen quickly by an expert for the best possible recovery. To help you get back on the court safely, we offer same-day appointments with our specialty-trained providers for anyone experiencing a new injury or condition.